how to: MId Century Mural
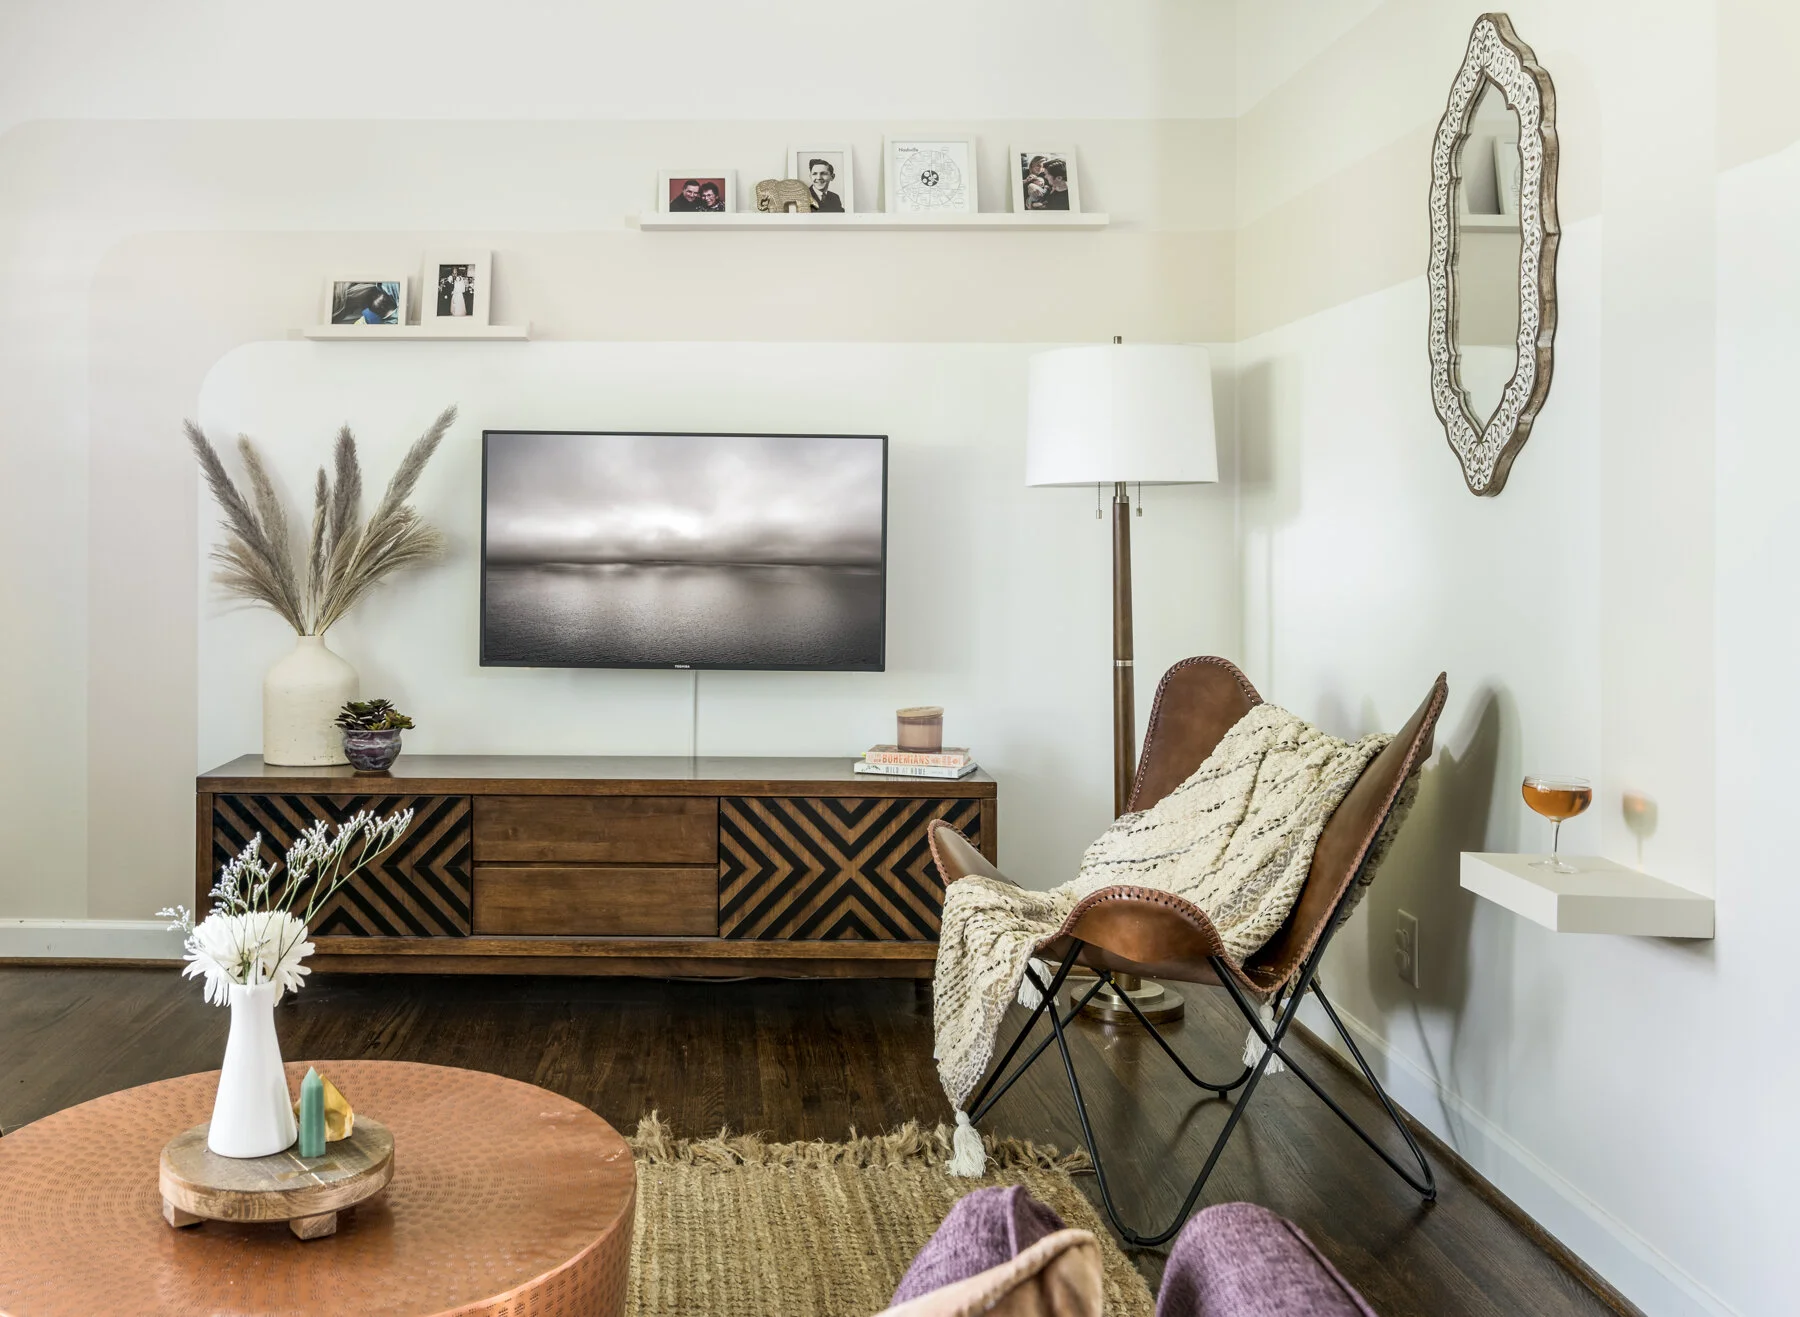
Photo by Leslie Brown Photography
In my last blog post I talked about the WHY, now let’s talk about the HOW! I started off by measuring my space to decide how large I wanted the stripes to be and how far from the wall/ceiling/tv they should be. I used a level to trace straight lines then, of course, I used a random tool I found in the kitchen to trace my curved edges. I tried out a few random kitchen items (bowls, pots, plates) but this was the best size! Going across the wall, I marked 11’’ from the ceiling then connected those markings using a level. ALWAYS use a level because your ceiling may not be perfectly level so 11’’ from the ceiling could differ across the wall. Line up your markings as best as you can with your level then commit to that line! I continued the process, measuring down 7’’ from my top line, then another 7’’ for the bottom line. This gave me two strips that were 7’’ wide. I decided to tape off the bottom stripe first. Then it was time to paint!
I painted the first stripe then adjusted my tape for the second stripe the next day. What the pictures don’t show is that I hated the yellow-ish color and had to re-do that one! It was wayyyy too yellow and was giving off nursery vibes. Not cute. So I diluted it with some white paint and voila, neutrality was achieved. Another problem I had was taping too close to my pencil marks so the lines weren’t painted over. I had to use an eraser and then come back in with my base wall color to get rid of those pesky pencil lines. The next step was building a floating shelf. I used leftover wood from the kitchen’s floating shelf project and used the same floating shelf technique. I’ll do a blog on that soon :) After a little wood filler, I painted the shelf the same color as the stripe so it looked like the stripe was coming out of the wall! Finally, we added this boho mirror to stay consistent with the mix n’ match approach we took with this house in terms of style.
Are you ready for the…
Before & After
In addition to the mural, we finished out this wall with some floating picture shelves. I painted each one the same color as the stripe it was hung on. I also painted the picture frames. I love how the mural has these “3d” moments. I think that gives it more purpose than just being an artistic addition to the room. Looking back at this home’s projects, I think this may be my absolute favorite design choice in the entire house. No surprise that the wackiest thing we did there is my favorite :)
-B


